

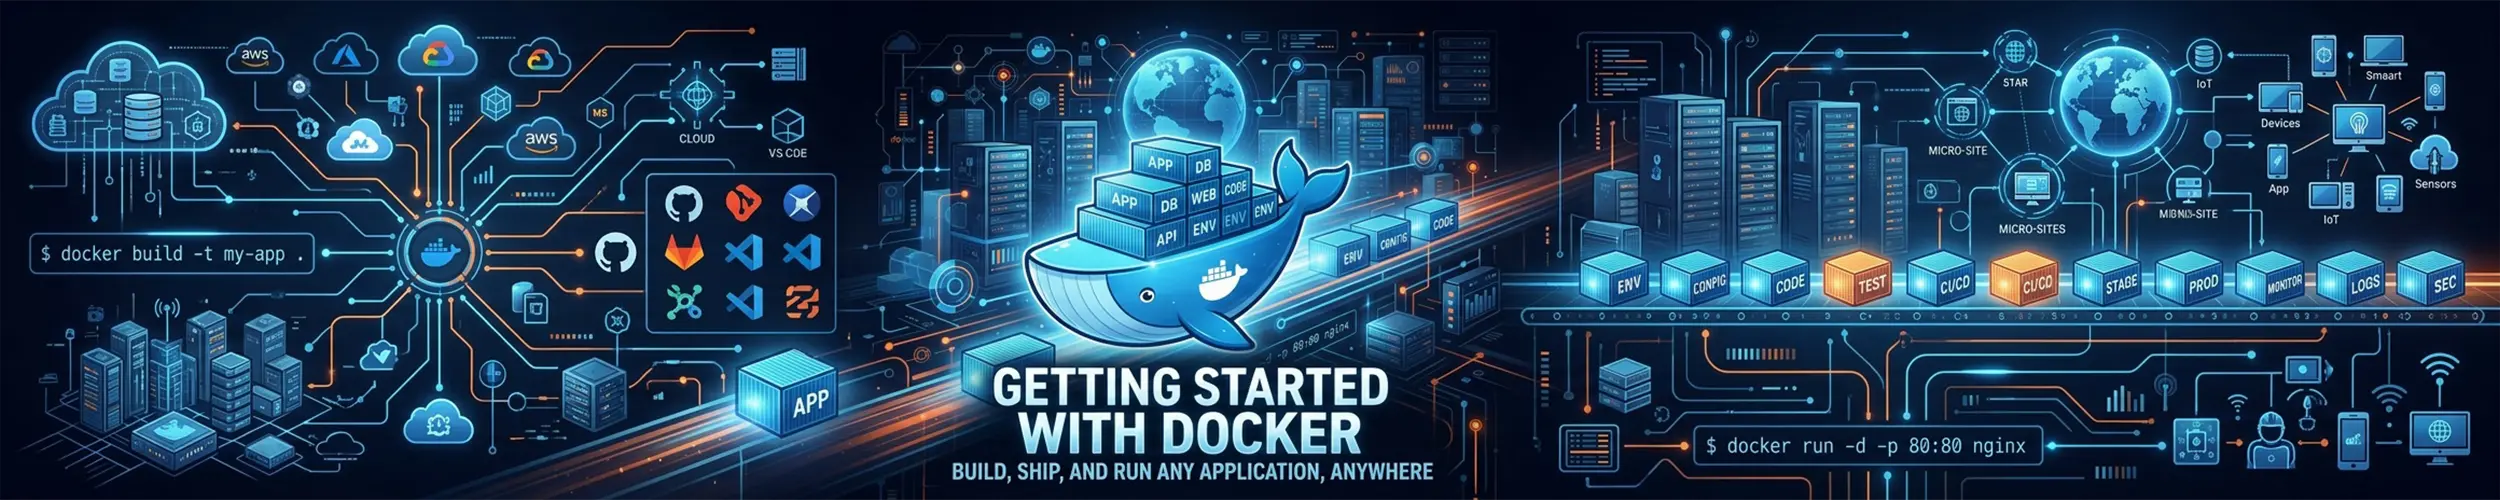
A container is a process on your machine, isolated from the rest of it and shipped with everything it needs to run. Not a virtual machine — there is no second kernel and no emulated hardware, which is why a container starts in milliseconds where a VM takes a minute.
This gets you from nothing to running an application, with the two security surprises that most introductions leave out.
1. Install it
Use Docker’s own repository rather than your distribution’s package. The distribution version is often well behind, and on Ubuntu the docker.io package and the snap have caused enough confusion to be worth avoiding.
# Debian, Ubuntu — official convenience script
curl -fsSL https://get.docker.com -o get-docker.sh
less get-docker.sh          # read it before running it
sudo sh get-docker.sh

# Fedora
sudo dnf install docker-ce docker-ce-cli containerd.io docker-compose-plugin

sudo systemctl enable --now docker
docker --versionThat less step is the habit recommended in curl and wget — the script is piped straight to a root shell in most instructions you will find, and reading it first costs nothing.
Running docker without sudo
sudo usermod -aG docker $USER
# log out and back in for it to take effectUnderstand what you just did. Membership of the docker group is equivalent to root on the machine. Not similar to — equivalent. Anyone in that group can start a container that mounts the host’s entire filesystem and edit anything on it, without ever typing a password or appearing in the sudo logs.
That is a reasonable trade on your own laptop. On a shared server it means the docker group is your list of administrators, and should be treated that way. If that is not acceptable, rootless Docker and Podman both exist for exactly this reason.
2. The mental model
| Thing | Is |
|---|---|
| Image | A read-only template. Like a class, or an ISO. |
| Container | A running (or stopped) instance of an image. Like an object. |
| Volume | Storage that outlives the container. |
| Registry | Where images are stored — Docker Hub by default. |
| Dockerfile | The recipe for building an image. |
The single most important consequence: a container’s filesystem is disposable. Remove the container and everything written inside it is gone. That is a feature, not a bug — but it is why the volumes section below matters more than it looks.
3. Run something
docker run hello-world                    # prove it works
docker run -d -p 8080:80 --name web nginx # a web server on port 8080Visit http://your-server:8080 and Nginx answers. Nothing was installed on the host.
| Flag | Means |
|---|---|
-d | Detached — run in the background |
-p 8080:80 | Host port 8080 → container port 80 |
--name web | A name, so you are not typing container IDs |
-v host:container | Mount storage in |
-e KEY=value | Set an environment variable |
--rm | Delete the container when it exits |
-it | Interactive with a terminal — for shells |
--restart unless-stopped | Come back after a reboot |
The port mapping reads host first. -p 8080:80 means “expose the container’s 80 as 8080 on this machine”. Getting it backwards is a rite of passage.
4. Look at what is running
docker ps                        # running containers
docker ps -a                     # including stopped ones
docker logs web                  # its output
docker logs -f web               # follow it live
docker exec -it web bash         # a shell inside it
docker stop web                  # stop
docker start web                 # start again
docker rm web                    # delete the container
docker images                    # images on this machine
docker stats                     # live resource usage
docker logs and docker exec -it ... bash are the two you will use constantly. The first is where an application’s errors go — containers log to stdout by convention rather than to files. The second drops you inside the container to look around, which is how you find out that the config file is not where you thought.
If bash is not found, the image is probably Alpine-based: use sh.
5. Keep the data
Two ways to make storage survive the container:
# Named volume — Docker manages it, best for databases
docker run -d --name db \
  -e POSTGRES_PASSWORD_FILE=/run/secrets/pw \
  -v pgdata:/var/lib/postgresql/data \
  postgres:16

# Bind mount — a real directory on the host, best for config and code
docker run -d --name web -p 8080:80 \
  -v /srv/site:/usr/share/nginx/html:ro \
nginxNamed volumes live under /var/lib/docker/volumes and are the right default for application data. Bind mounts point at a path you chose, which makes them right for things you want to edit and back up normally — and :ro makes it read-only, which is worth adding whenever the container has no business writing.
docker volume ls
docker volume inspect pgdata
docker run --rm -v pgdata:/data -v $(pwd):/backup alpine \
tar czf /backup/pgdata.tar.gz -C /data .That last command is the standard trick for backing up a named volume: run a throwaway container with both the volume and a host directory mounted, and tar from one to the other. For a database, take a proper dump instead — the reasoning is in the backups guide.
6. Compose, for anything with more than one part
Once you have a web server, a database and a couple of environment variables, remembering the docker run line stops being realistic. compose.yaml:
services:
  web:
    image: nginx
    ports:
      - "127.0.0.1:8080:80"
    volumes:
      - ./site:/usr/share/nginx/html:ro
    restart: unless-stopped
    depends_on:
      - db

  db:
    image: postgres:16
    environment:
      POSTGRES_PASSWORD: ${DB_PASSWORD}
    volumes:
      - pgdata:/var/lib/postgresql/data
    restart: unless-stopped

volumes:
pgdata:docker compose up -d # start everything
docker compose ps # what is running
docker compose logs -f web # follow one service
docker compose down # stop and remove containers (volumes survive)
docker compose down -v # ...and delete the volumes too. Careful.
docker compose pull && docker compose up -d # update imagesNote two things in that file. ${DB_PASSWORD} comes from a .env file that is not in version control. And the port is written 127.0.0.1:8080:80 rather than 8080:80 — which brings us to the thing worth knowing most.
.dockerignore deserves a moment here too, because keeping .env out of version control does not keep it out of an image. If that file was ever committed — even in a commit whose message says the secrets were removed — it is still in the repository’s history, and a COPY . /app in a Dockerfile ships .git into the image along with everything else. Add both .env and .git to .dockerignore. What ships in your container image has the reproduction, and what to do if it already shipped.
Docker and your firewall
This surprises people badly, sometimes publicly.
Publishing a port with -p writes iptables rules that bypass ufw. You can have ufw status showing a tidy deny-by-default policy, run -p 5432:5432 on a database container, and have that database reachable from the internet. ufw will still report the port as blocked, because as far as ufw is concerned it is.
The fix is to bind published ports to loopback unless you genuinely want them public:
-p 127.0.0.1:8080:80        # only this machine can reach it
-p 8080:80 # the whole internet can, firewall or notThen put Nginx in front as a reverse proxy and let it be the only thing listening publicly. Check what is actually exposed from another machine, not from the server:
sudo ss -tulpn | grep docker      # on the server
nc -zv your-server-ip 5432 # from your laptop — should refuseNetworking basics covers reading that output.
Docker eats disk
Old images, stopped containers, dangling build layers and unused volumes accumulate quietly. On a build server this is the most common cause of a full disk.
docker system df                 # what is using space
docker image prune               # dangling images — safe
docker container prune           # stopped containers
docker system prune              # both, plus build cache
docker system prune -a           # ALSO every image not backing a running container
docker volume prune              # unused volumes — this deletes DATA
docker system prune -a and volume prune are the two to read carefully before confirming. The first will re-download images you still wanted; the second deletes application data that no running container happens to be using at that moment. See disk space.
Container logs also grow without limit by default. Cap them in /etc/docker/daemon.json:
{
  "log-driver": "json-file",
  "log-opts": { "max-size": "10m", "max-file": "3" }
}Then sudo systemctl restart docker. This applies to containers created afterwards, not existing ones.
Other things that catch people
:latestis not a version — and nor ispostgres:16.2. Both are tags, and tags move: official images get rebuilt and pushed over the same version tag whenever their base picks up a fix. Use a version tag anyway, because it stops an unattendedpullhanding you a major upgrade you did not plan. But the thing that actually pins an image is a digest —postgres@sha256:…, which you can read offdocker buildx imagetools inspect postgres:16.2. What ships in your container image covers the three things a digest still does not promise.- Processes inside containers run as root by default, and with a bind mount that root can write to your host filesystem. Use
--user, or an image that drops privileges. - Changes inside a running container are lost when it is recreated. If you fixed something with
docker exec, put it in the Dockerfile or compose file too, or you will fix it again next week. docker compose down -vdeletes volumes. Without-vyour data survives. It is one character between a restart and a data loss.- Images are not audited. Anyone can publish to Docker Hub. Prefer official images and verified publishers, and be as sceptical of a random image as you would be of a random
curl | sh.
And when you come to build an image of your own rather than run somebody else’s, that is building a container image — the long one that starts where this page’s glossary entry for “Dockerfile” stops. It is worth reading before your first build rather than after, because the failures it covers all arrive on a build that reported success.
Quick reference
docker run -d --name x -p 127.0.0.1:8080:80 image
docker ps -a                  docker logs -f x
docker exec -it x bash        docker stop x / start x / rm x
docker images                 docker pull image:tag

docker compose up -d          docker compose ps
docker compose logs -f svc    docker compose down     (-v deletes volumes)
docker compose pull && docker compose up -d

docker system df              docker system prune
docker volume ls              docker volume inspect name
ss -tulpn | grep docker # what did Docker actually exposeRelated
- Set up a web server with Nginx — the reverse proxy that should be the only thing publicly listening.
- Securing a new Linux server — do this before exposing anything.
- Networking basics — checking what is actually reachable.
- Disk space — Docker is usually the answer to “what filled the disk”.
- systemctl — the Docker daemon is a service like any other.
- sudo — and why the docker group is equivalent to it.