

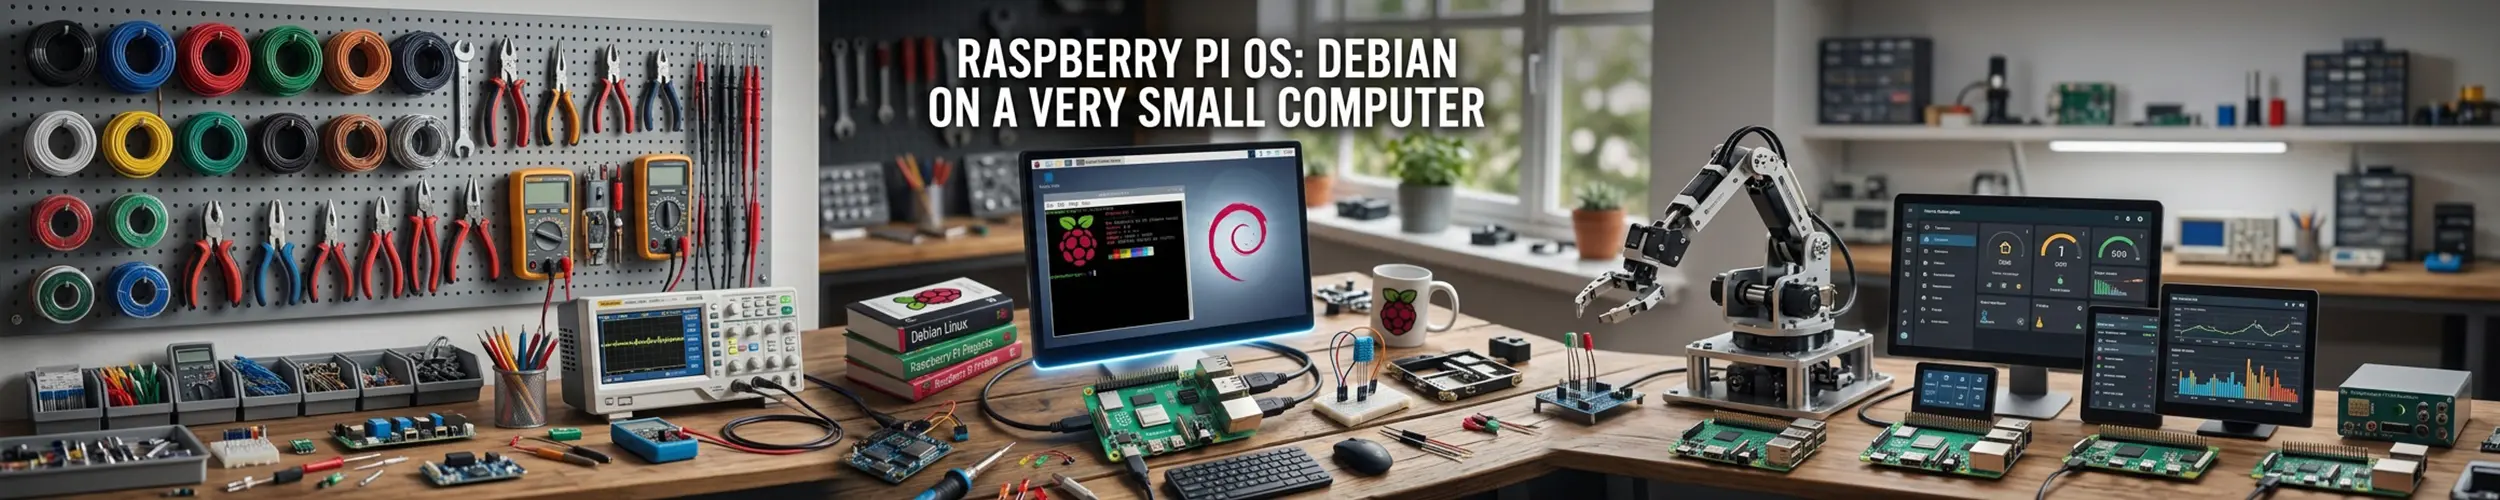
Raspberry Pi OS is Debian with hardware support, tooling and a desktop tuned for the Pi. That is worth stating plainly because it means almost everything you know about Debian applies: apt, systemd, the same filesystem layout, the same configuration files.
Current images are based on Debian 13 “Trixie”. The differences from ordinary Debian are the ARM architecture, a handful of Pi-specific tools, and a set of constraints that come from the hardware — one of which causes more grief than everything else combined.
The SD card problem
Most Pis boot from a microSD card, and microSD cards are not designed for the write pattern of an operating system. They were built for cameras: write a photo, read it back, occasionally erase everything. A Linux system instead writes small amounts constantly — logs, databases, temporary files — and cards wear out.
The failure is unpleasant because it is gradual. Files corrupt quietly, the system gets strange, and it looks like a software problem for weeks before the card fails outright. If a Pi that ran fine for a year starts behaving oddly, suspect the card before anything else.
Three things help, in descending order of effectiveness:
- Boot from a USB SSD instead. A Pi 4 or newer boots from USB directly, and a cheap SSD in a USB enclosure is faster and vastly more durable. For anything that matters — a home server, anything with a database — this is the answer, not a mitigation.
- Buy an endurance-rated card if you must use one. Cards sold for dashcams and security cameras are built for continuous writing.
- Write less. Cap the journal and move temporary files to RAM.
# Cap the systemd journal - by default it can be large
sudo mkdir -p /etc/systemd/journald.conf.d
echo -e "[Journal]\nSystemMaxUse=50M" | \
  sudo tee /etc/systemd/journald.conf.d/size.conf
sudo systemctl restart systemd-journald

# Put /tmp in RAM - add to /etc/fstab
# tmpfs  /tmp  tmpfs  defaults,noatime,nosuid,size=100m  0  0

# Reduce writes generally: noatime on the root filesystem in /boot/firmware/cmdline.txtAnd take backups, because the card will eventually fail. Automated backups applies unchanged; on a Pi the thing to protect is usually a config directory and a database, not the whole image.
Setting one up headless
Most Pis end up with no monitor attached, and the modern way to do this is not the old trick of dropping files onto the boot partition. Raspberry Pi Imager configures everything before writing the card.
In Imager, choose your OS and storage, then open the settings (the gear icon, or Ctrl+Shift+X) and set:
- Hostname — distinct, because
raspberrypi.localstops being useful at two Pis - Username and password — there is no default
piaccount any more - Wi-Fi network and country — the country matters, the radio will not enable without it
- Enable SSH, and paste your public key rather than using a password
- Locale and timezone
Write the card, boot it, and connect:
ssh myuser@mypi.local

# If .local does not resolve, find it on the network
ip neigh
nmap -sn 192.168.1.0/24The .local name works through mDNS and usually just works on Linux and macOS; on some networks and some Windows setups it does not, hence the fallback. SSH keys covers why pasting a public key beats setting a password, and securing a new server applies fully to a Pi exposed to the internet.
The Pi-specific bits
| Thing | What it is |
|---|---|
raspi-config | Text menu for hardware settings, interfaces, boot options |
rpi-update | Bleeding-edge firmware. Do not run it casually. |
/boot/firmware/config.txt | Hardware configuration read before the kernel |
/boot/firmware/cmdline.txt | Kernel command line, one single line |
vcgencmd | Query temperature, voltage and throttling |
pinout | GPIO diagram for your exact board |
# Configure hardware and interfaces
sudo raspi-config

# Ordinary updates, exactly as Debian
sudo apt update && sudo apt full-upgrade

# Temperature, and whether it is throttling
vcgencmd measure_temp
vcgencmd get_throttledvcgencmd get_throttled is the diagnostic worth knowing. A non-zero result means the Pi has reduced its speed — usually from heat, often from an inadequate power supply. Cheap USB chargers are the most common cause of “my Pi is unstable”, and it presents as random freezes and filesystem corruption rather than anything obviously power-related. Use the official supply or an equivalent.
Do not run rpi-update unless someone specifically tells you to for a specific reason. It installs unreleased firmware, is not part of normal updating, and has broken plenty of working systems. apt full-upgrade updates firmware through the normal channel.
Which image
| Image | Use for |
|---|---|
| 64-bit Lite | Servers and headless projects — the usual choice |
| 64-bit Desktop | An actual desktop, on a Pi 4 or 5 |
| Desktop with recommended software | Teaching and first-time use |
| 32-bit | Pi Zero, Pi 1, Pi 2 — and nothing else |
Choose 64-bit on any Pi 3 or newer. The 32-bit image exists for older boards and caps usable memory; more importantly, an increasing amount of software — container images especially — is published for ARM64 and not for the 32-bit ARM architecture. Running the 32-bit image on a Pi 4 is a decision you will regret the first time a Docker image will not pull.
Lite is the right default for anything headless. A desktop you never look at costs memory and disk and writes to your card for no benefit.
Things that catch people out
| Symptom | Cause |
|---|---|
| Random freezes, corrupted files | Power supply, or a worn SD card |
| Slows down under load | Thermal throttling — vcgencmd get_throttled |
| Wi-Fi will not enable | Country not set — raspi-config |
| Docker image will not pull | Running the 32-bit image; use 64-bit |
| Rainbow square on boot | Undervoltage |
raspberrypi.local not found | mDNS — find it by IP instead |
| Was fine, now degrading | The card is wearing out. Replace it. |
No pi user | Removed years ago; you set the username in Imager |
The first row covers a startling proportion of all Pi problems. Before debugging software, check power and check the card — the symptoms look like anything and everything.
Who should run it
Yes, on a Pi — it is the best-supported option, the one every tutorial assumes, and the one where hardware quirks are already handled. For a home server, a Pi-hole, a media box, a print server or anything with GPIO attached, start here and only move if you have a reason.
It is also a genuinely good way to learn Linux server administration. The machine is cheap, breaking it costs nothing, reinstalling takes ten minutes, and everything in the Guides section works on it.
Consider something else if:
- You want Ubuntu specifically — Canonical publishes proper Pi images, which is worth it if you need Ubuntu-specific packages or want to match your servers. Ubuntu covers the trade-offs.
- The board is small and the job is one thing — DietPi strips far more out and runs comfortably on a Pi Zero.
- It is a media centre — LibreELEC exists solely to run Kodi and does it better.
- You are building something real that matters. A Pi is excellent and it is still a hobbyist board with an SD card and a USB power supply. For anything with uptime expectations, a small VPS is more reliable and costs about the same per year.
Quick reference
| You want | Command |
|---|---|
| Which model and OS | cat /proc/device-tree/model; cat /etc/os-release |
| Hardware settings | sudo raspi-config |
| Update | sudo apt update && sudo apt full-upgrade |
| Temperature | vcgencmd measure_temp |
| Is it throttling? | vcgencmd get_throttled |
| GPIO layout | pinout |
| Boot from USB | sudo raspi-config → Advanced → Boot Order |
| 64-bit or 32-bit? | uname -m — aarch64 is 64-bit |
Related reading
- Debian — what this actually is
- Securing a new server — applies fully to an internet-facing Pi
- SSH keys — set one in Imager rather than a password
- Automated backups — because the card will fail eventually
- Tailscale — reaching a Pi behind a home router without port forwarding
- Getting started with Docker — and why the 64-bit image matters for it