

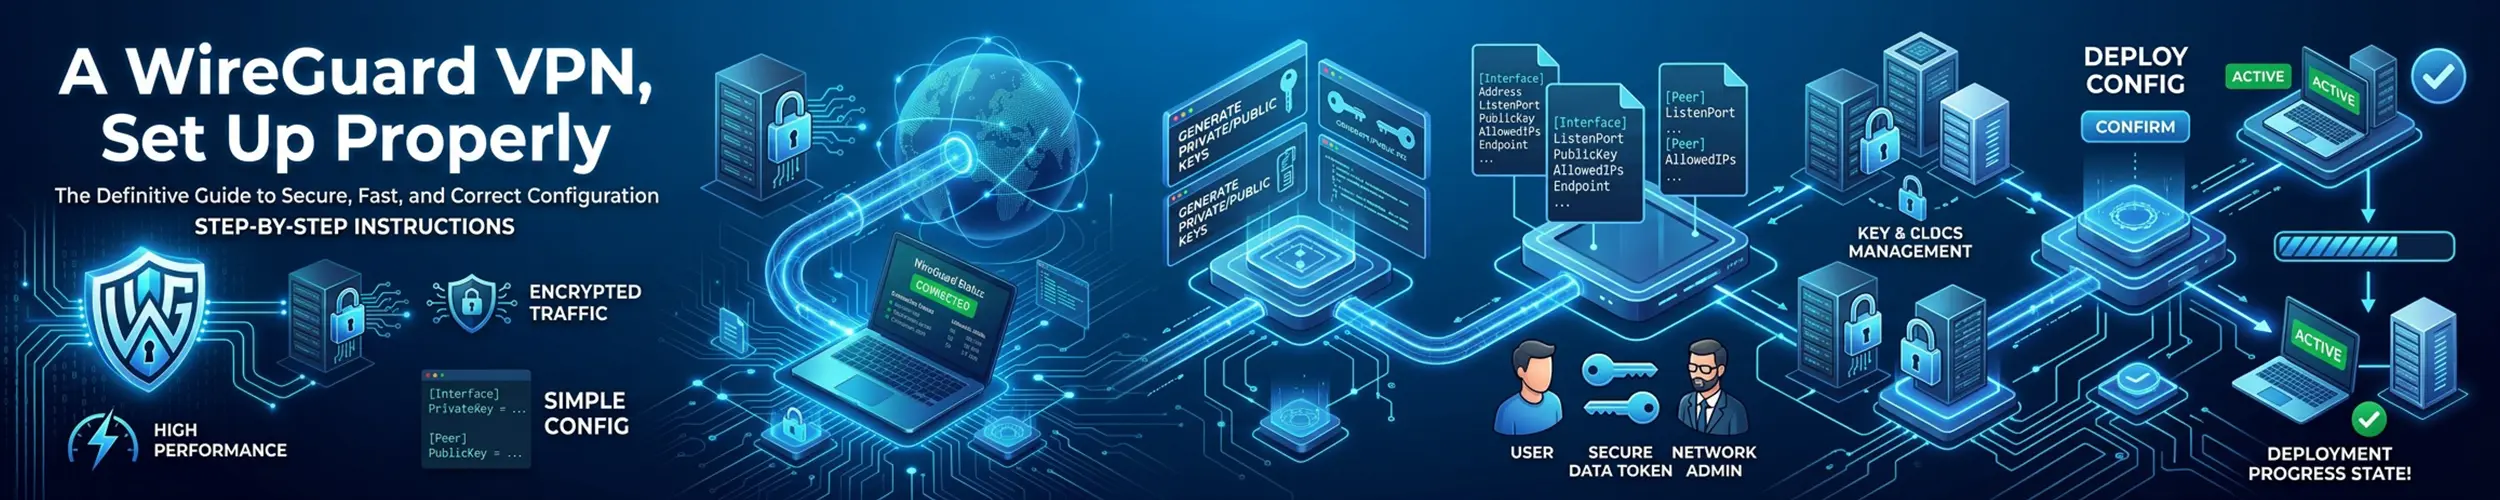
WireGuard is small enough to understand completely, which is unusual for a VPN. There is no daemon negotiating options, no certificate authority, no user database — two machines exchange public keys, and after that they can send each other packets. The whole configuration is a dozen lines.
About forty minutes, on a server you already have.
What this guide does not do. It is not a mesh: every peer connects to one server, and if that server is down nothing works — if you want machines to find each other directly with no configuration, use Tailscale, which is WireGuard with the hard parts managed. There is no per-user authentication, no MFA and no revocation beyond deleting a key by hand, so this does not scale past a handful of devices you personally control. And a VPN is not anonymity — it moves your traffic’s exit point to a machine you rent, which is a different thing.
1. Decide which of the two things you want
| Split tunnel | Full tunnel | |
|---|---|---|
| Goal | Reach your own private services | Send all your traffic out through the server |
Client AllowedIPs | 10.8.0.0/24 | 0.0.0.0/0, ::/0 |
| Needs NAT on the server | No | Yes |
| Needs DNS configured | Only for private names | Yes, or you leak queries |
| Normal browsing | Unaffected | Goes through the server |
Most people want the split tunnel and reach for the full one out of habit. Routing your video calls through a VPS in another country to read a status page is a poor trade. Set up split first; the full tunnel is two extra lines when you want it.
Verify: write down which you are building. Every decision below depends on it.
2. Install it and make keys
sudo apt install wireguard        # or dnf, pacman
cd /etc/wireguard
umask 077
wg genkey | sudo tee server.key | wg pubkey | sudo tee server.pub
sudo ls -l /etc/wireguardThe umask 077 is not decoration. A private key readable by other users on the machine is the same as having no VPN, and wg-quick will warn you about it every time it starts.
Generate a key pair for each client too. There is no shared secret and no certificate authority — each device has its own pair, and the two ends simply learn each other’s public keys.
Verify: ls -l shows the private keys as -rw------- and owned by root.
3. Write the server configuration
# /etc/wireguard/wg0.conf
[Interface]
Address = 10.8.0.1/24
ListenPort = 51820
PrivateKey = <contents of server.key>

[Peer]
# laptop
PublicKey = <laptop's public key>
AllowedIPs = 10.8.0.2/32

[Peer]
# phone
PublicKey = <phone's public key>
AllowedIPs = 10.8.0.3/32Note that nothing here says “server”. WireGuard has no such concept — there are only peers, and this one happens to have a fixed address and no Endpoint, so the others connect to it. Choose a private range you are not already using; 10.8.0.0/24 is conventional precisely because almost nobody has it.
Verify: wg-quick strip wg0 parses the file and prints it back without complaint.
4. Understand AllowedIPs before you go further
AllowedIPs means two different things depending on which direction the packet is going, and this is the setting everyone gets wrong. Outbound, it is a routing rule: “send traffic for these addresses to this peer”. Inbound, it is an access control list: “accept packets from this peer only if they claim these source addresses”. WireGuard calls this cryptokey routing. So on the server, each peer gets a single /32 — its own tunnel address, and nothing else. On the client, the entry is whatever you want to reach through the tunnel.
Two consequences follow. Giving a client peer AllowedIPs = 0.0.0.0/0 on the server tells the server to route the entire internet to that laptop, which is almost never what you meant and will break every other peer. And two peers cannot share an address range: whichever appears first wins, silently.
5. Forwarding and NAT, if you need them
Skip this entirely for a split tunnel that only reaches services on the server itself. You need it if clients must reach other machines, or the internet, through the server.
# /etc/sysctl.d/99-wireguard.conf
net.ipv4.ip_forward = 1
net.ipv6.conf.all.forwarding = 1

sudo sysctl --system
sysctl net.ipv4.ip_forward # expect 1Then masquerade the tunnel traffic on the way out, which wg-quick can do for you as part of bringing the interface up and down:
# in the [Interface] section of wg0.conf
PostUp   = iptables -t nat -A POSTROUTING -s 10.8.0.0/24 -o eth0 -j MASQUERADE
PostDown = iptables -t nat -D POSTROUTING -s 10.8.0.0/24 -o eth0 -j MASQUERADEReplace eth0 with your real interface — ip -br a tells you, and see ip if the output is unfamiliar.
Verify: sysctl net.ipv4.ip_forward returns 1 after a reboot, not just after you set it.
6. Open exactly one port, and start it
sudo ufw allow 51820/udp          # UDP. Not TCP. WireGuard is UDP only
sudo systemctl enable --now wg-quick@wg0
sudo wg show
ss -ulnp | grep 51820The @wg0 refers to the configuration file name, so a second tunnel is wg1.conf and wg-quick@wg1. See Linux Firewalls if ufw is not what this machine uses.
Verify: wg show lists the interface and your peers, and ss -ulnp shows something listening on 51820/udp.
7. The client
# laptop: /etc/wireguard/wg0.conf
[Interface]
Address = 10.8.0.2/24
PrivateKey = <laptop's private key>
# DNS = 10.8.0.1        # only for a full tunnel, or private names

[Peer]
PublicKey = <server's public key>
Endpoint = vpn.example.com:51820
AllowedIPs = 10.8.0.0/24          # split tunnel
# AllowedIPs = 0.0.0.0/0, ::/0    # full tunnel
PersistentKeepalive = 25PersistentKeepalive = 25 belongs on any peer behind NAT — which is every phone and most laptops. Without it the router forgets the mapping after a minute of silence and the server can no longer reach the client until the client speaks first. It costs a tiny packet every twenty-five seconds. Put it on the client side, not the server.
For phones, generate the configuration and turn it into a QR code rather than typing a key on a touchscreen:
qrencode -t ansiutf8 < phone.confVerify: bring the client up and run sudo wg show on both ends. A latest handshake line appears within seconds of real traffic.
8. Test it deliberately
ping 10.8.0.1                     # the tunnel itself
sudo wg show                      # handshake, and bytes in both directions
curl -s https://ifconfig.me       # full tunnel: should be the SERVER's address
resolvectl status # full tunnel: is DNS going where you think?That third command is the one that matters for a full tunnel. If it returns your own address, traffic is not going through the tunnel whatever the interface says. The fourth catches the subtler failure where traffic tunnels correctly but DNS queries still go to your local network — see How a Name Is Resolved.
Verify: disconnect from wifi, reconnect over mobile data, and confirm it comes back on its own.
When there is no handshake
| Symptom | Cause |
|---|---|
| No handshake at all, ever | UDP 51820 not reachable — firewall, cloud security group, or the port is TCP-only |
| Handshake, but no traffic passes | AllowedIPs wrong on one side |
| Works for a minute, then stops | NAT timeout. Add PersistentKeepalive = 25 on the client |
| Tunnel up, internet dead (full tunnel) | Forwarding or masquerade missing on the server |
| Everything works except names | DNS. Set DNS = on the client |
| One peer works, adding a second breaks it | Two peers with overlapping AllowedIPs |
| Works on wifi, not on a hotel network | UDP blocked. WireGuard has no TCP fallback |
| Large transfers stall, small ones fine | MTU. Try MTU = 1380 on the client interface |
One thing that confuses everybody once: WireGuard is silent until there is traffic. A correctly configured tunnel shows no handshake and no interface activity until something tries to use it. Do not debug a tunnel you have not sent a packet down.
Adding and removing devices
# add a peer without restarting the tunnel
sudo wg set wg0 peer <pubkey> allowed-ips 10.8.0.4/32
sudo wg-quick save wg0            # write the running state back to the file

# remove one
sudo wg set wg0 peer <pubkey> remove
sudo wg-quick save wg0Removing the peer is the whole of revocation — there is no certificate to expire and no list to publish. That simplicity is a feature at five devices and a problem at fifty, which is the point at which you want something with an account system.
Before you call it done
- Private keys are mode
600and owned by root, on every device - Only UDP 51820 is open, and nothing else was opened to make it work
- Each peer has its own key pair — no key is on two devices
- Server peers have a single
/32inAllowedIPs - The tunnel comes back by itself after a server reboot
- Clients behind NAT have
PersistentKeepalive - For a full tunnel:
ifconfig.meshows the server, and DNS goes through the tunnel - You know which command removes a lost device
Related
- Tailscale — the same protocol with the key exchange and NAT traversal managed for you
- ip — interfaces, routes, and
ip r getfor checking where traffic actually goes - Linux Firewalls — opening the one port, and nothing else
- Networking Explained — addresses, routes and why the tunnel needs its own subnet