

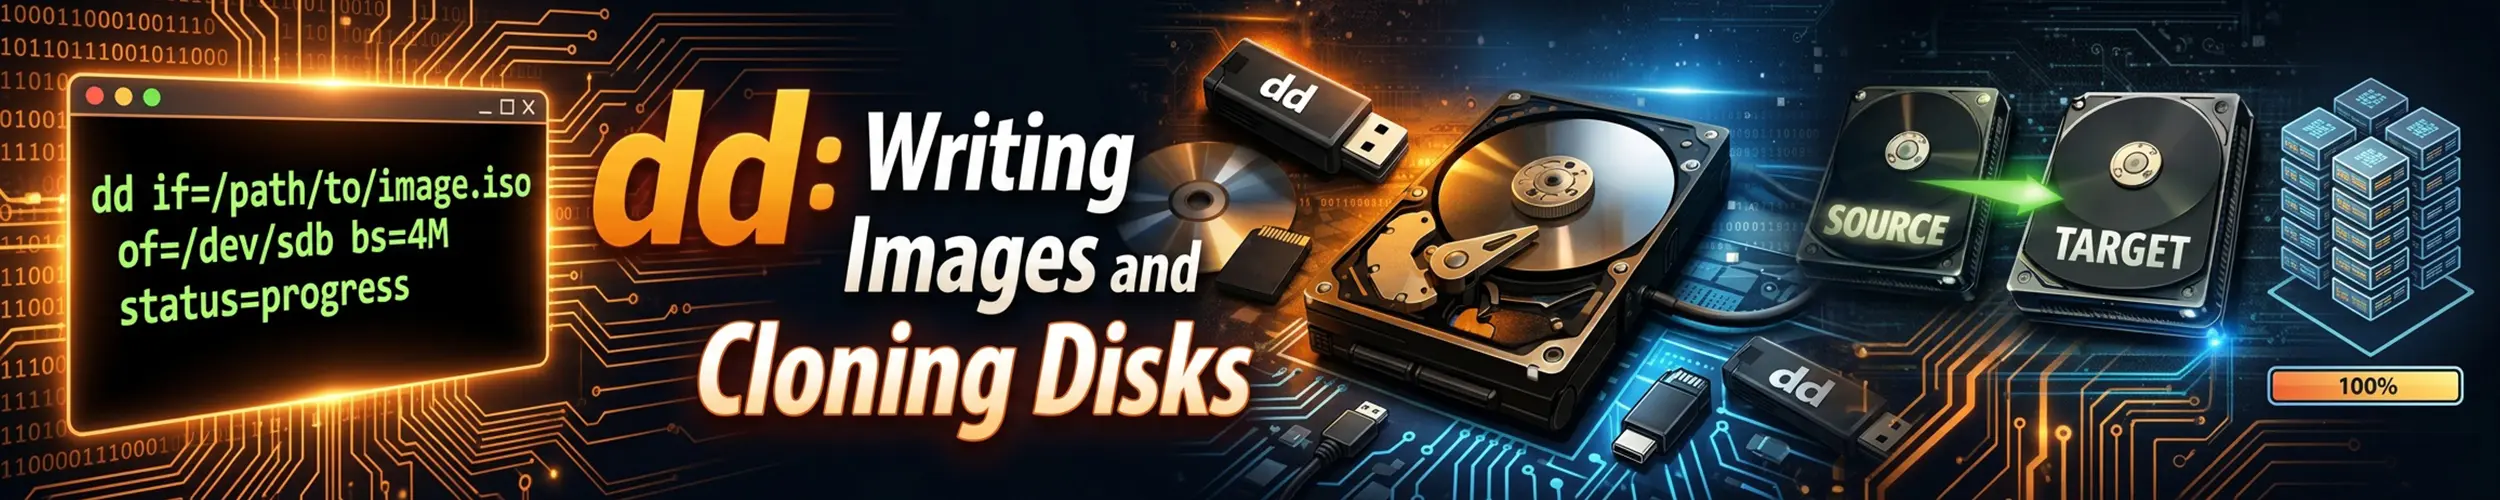
dd copies bytes from one place to another. That is the whole program. It does not care whether the destination is an empty USB stick or the disk your operating system is running from, it does not ask for confirmation, and it prints nothing when it succeeds.
That combination is why it has a reputation, and why the joke about it standing for “disk destroyer” is closer to a warning than a joke.
Before every dd command, run lsblk and confirm the target.
Device names are not stable. The USB stick that was /dev/sdb yesterday can be /dev/sdc today, and /dev/sdb can now be something you need. There is no undo, no trash, and no “are you sure”.
Identify the target first
# What disks exist, with sizes and mount points
lsblk

# With filesystem labels - much easier to recognise
lsblk -f

# Watch what appears when you plug the USB stick in
sudo dmesg -wThe reliable method: run lsblk, plug the device in, run lsblk again. The line that appeared is your device. Size is the confirming detail — a 32 GB stick should show around 29G, and if the device you are about to write to says 1.8T, stop.
Write to the whole device, not a partition. A bootable image goes to /dev/sdb, not /dev/sdb1 — the image contains its own partition table, and writing it inside an existing partition produces something that does not boot.
Writing a bootable USB
# 1. Confirm the device
lsblk

# 2. Unmount it if the desktop mounted it automatically
#    (unmount, do not eject)
sudo umount /dev/sdb1

# 3. Write
sudo dd if=ubuntu-26.04.iso of=/dev/sdb bs=4M status=progress conv=fsync

# 4. Make sure it is really written before pulling it out
sync| Operand | Means |
|---|---|
if= | Input file — where bytes come from |
of= | Output file — where they go, and what gets destroyed |
bs=4M | Block size. 4M is dramatically faster than the 512-byte default. |
status=progress | Show progress instead of silence |
conv=fsync | Do not report success until the data is physically written |
status=progress and conv=fsync are the two flags worth always adding. Without progress, a ten-minute write is indistinguishable from a hang. Without fsync, dd can finish while gigabytes are still sitting in the kernel’s write cache — pull the stick then and you get a corrupt image with no error at any point.
Note the syntax. dd predates the conventions everything else follows: it is if=file, not -i file, and there are no dashes.
Cloning and imaging
# Whole disk to an image file
sudo dd if=/dev/sda of=/mnt/backup/disk.img bs=4M status=progress conv=fsync

# Compress as it goes - images are mostly empty space
sudo dd if=/dev/sda bs=4M status=progress | gzip -c > /mnt/backup/disk.img.gz

# Restore
gunzip -c /mnt/backup/disk.img.gz | sudo dd of=/dev/sda bs=4M status=progress

# Disk to disk directly (destination must be at least as large)
sudo dd if=/dev/sda of=/dev/sdb bs=4M status=progress conv=fsync,noerror

# Just the boot sector and partition table
sudo dd if=/dev/sda of=mbr-backup.img bs=512 count=1Two things about imaging that surprise people.
An image of a 500 GB disk is 500 GB, even if only 20 GB is used — dd copies every block including the empty ones. Piping through gzip fixes that for anything mostly-empty, because unused blocks compress to almost nothing.
Never image a mounted filesystem you are writing to. The copy is taken over minutes while the filesystem changes underneath it, and the result can be inconsistent in ways that only show up when you try to restore. Image from a live USB, or take a filesystem snapshot first — see filesystems.
Other things dd is good at
# A test file of a specific size
dd if=/dev/zero of=testfile bs=1M count=100

# A swap file
sudo dd if=/dev/zero of=/swapfile bs=1M count=2048
sudo chmod 600 /swapfile
sudo mkswap /swapfile && sudo swapon /swapfile

# Rough disk write speed
dd if=/dev/zero of=./testfile bs=1G count=1 oflag=dsync

# Random data, for testing
dd if=/dev/urandom of=random.bin bs=1M count=10The swap file case is worth knowing because it comes up whenever a small VPS runs short of memory — processes and memory covers when that is the right fix. Add it to /etc/fstab to survive a reboot.
For creating large files, fallocate -l 2G file is instant where dd takes minutes, because it allocates space without writing zeros. Use dd when you specifically want the blocks written.
Wiping a disk
# Zero a whole disk - slow, and irreversible
sudo dd if=/dev/zero of=/dev/sdb bs=4M status=progress

# Just destroy the partition table (fast, makes it look blank)
sudo dd if=/dev/zero of=/dev/sdb bs=1M count=10Two honest caveats. On an SSD, overwriting does not reliably erase anything — wear levelling means the controller writes elsewhere and the old blocks remain. Use the drive’s own secure erase (blkdiscard or hdparm), or rely on full-disk encryption and destroy the key.
And the multi-pass random overwriting people recommend is folklore on modern drives. One pass of zeros defeats any software recovery; if the threat model is a laboratory, the answer is physical destruction, not more passes.
When something goes wrong
| Symptom | Cause |
|---|---|
| Device or resource busy | Still mounted — umount it first |
| USB will not boot | Wrote to /dev/sdb1 instead of /dev/sdb |
| Painfully slow | No bs=; the 512-byte default is very slow |
| Appears to hang, no output | Normal — add status=progress |
| Finished instantly, then corrupt | Write cache; use conv=fsync and sync |
| No space left, but sizes match | Destination is fractionally smaller than the source |
| Input/output error partway | Failing source disk — see below |
# Progress on a dd that is already running
sudo kill -USR1 $(pgrep -x dd)If the source disk is failing, stop and use ddrescue instead. Plain dd either aborts on a bad sector or, with conv=noerror, ploughs on writing zeros over unreadable areas. ddrescue is purpose-built: it copies the good regions first, retries the bad ones afterwards, and keeps a map file so an interrupted rescue can resume. On a dying drive, every extra read is a risk, and reading the recoverable data first is exactly the right strategy.
sudo apt install gddrescue        # package name differs from the command
sudo ddrescue /dev/sdb rescue.img rescue.mapWhen not to use dd
- Copying files or directories. Use
cp, or rsync for anything large or remote.ddworks at the block level and has no idea what a file is. - Backups. A full-disk image is enormous, cannot be updated incrementally, and cannot restore one file. Automated backups covers the right approach.
- Writing a USB when you would rather not risk it. Fedora Media Writer, balenaEtcher and Raspberry Pi Imager all show you which device you selected and refuse to write to your system disk. There is no shame in using them — see Raspberry Pi OS, where Imager also configures the system before writing.
- Recovering from a failing disk —
ddrescue, as above.
dd earns its place when you want exact block-level control, when you are working over SSH with no graphical tools, or when you need to pipe a disk image through compression or over a network. For the everyday “write this ISO to a stick”, a graphical writer is a perfectly good answer.
Quick reference
| You want | Command |
|---|---|
| Check the target first | lsblk -f |
| Write an ISO to USB | sudo dd if=x.iso of=/dev/sdb bs=4M status=progress conv=fsync |
| Image a disk, compressed | sudo dd if=/dev/sda bs=4M | gzip -c > disk.img.gz |
| Restore that image | gunzip -c disk.img.gz | sudo dd of=/dev/sda bs=4M |
| Back up the partition table | sudo dd if=/dev/sda of=mbr.img bs=512 count=1 |
| Make a swap file | sudo dd if=/dev/zero of=/swapfile bs=1M count=2048 |
| Progress on a running dd | sudo kill -USR1 $(pgrep -x dd) |
| A failing source disk | ddrescue, not dd |
| Flush before unplugging | sync |
Related reading
- Disks and mounting — identifying devices, partitions and UUIDs
- Filesystems — why imaging a live filesystem is risky
- rsync — the right tool for copying files
- Automated backups — why disk images are not a backup strategy
- Processes and memory — when a swap file is the answer
- Raspberry Pi OS — where Imager beats dd outright