

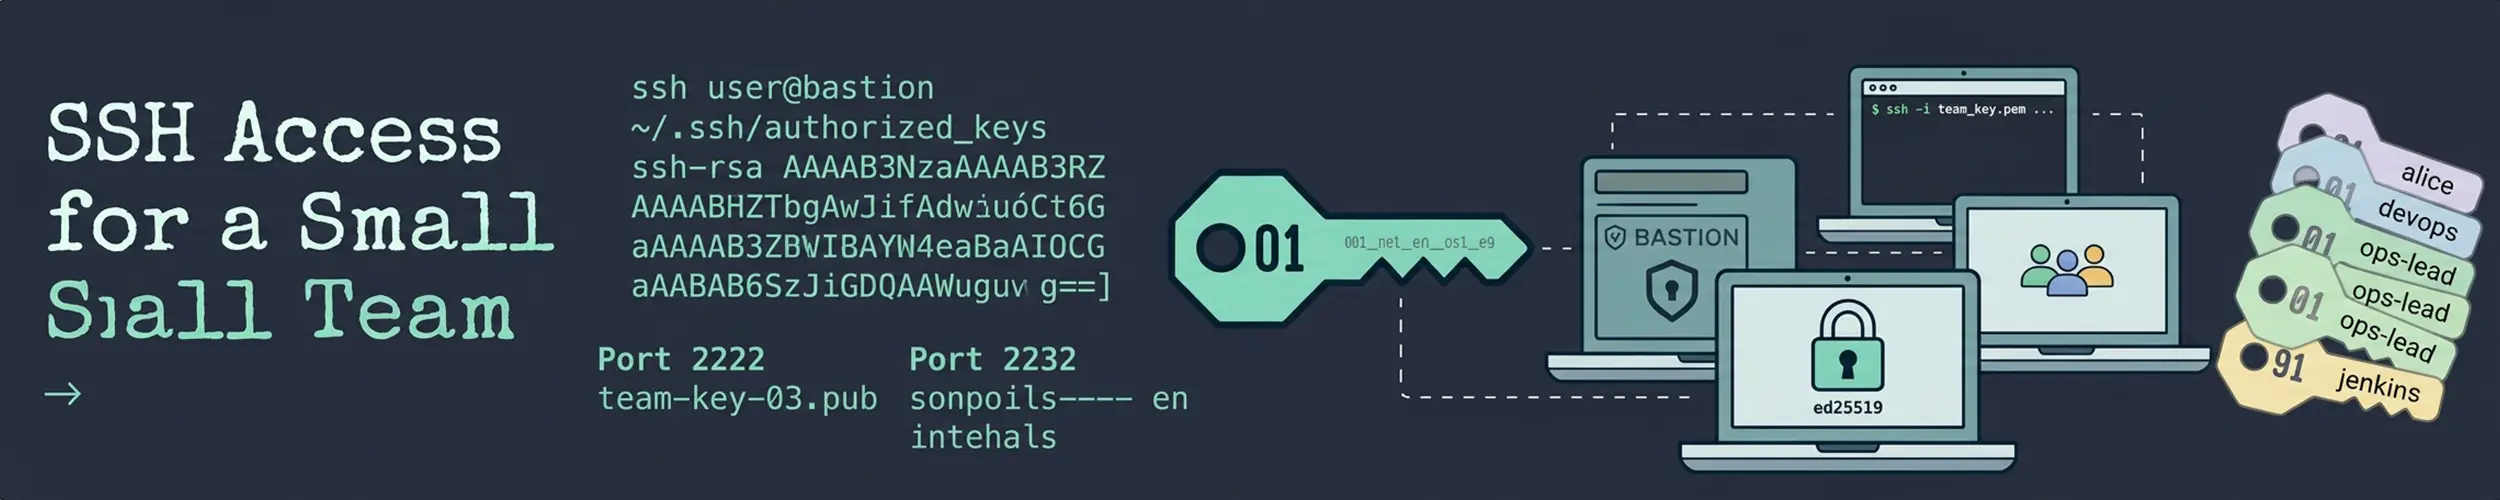
The first time a second person needs access to a server, the easy thing is to hand over the existing password or add their key to the same account. It works immediately, and it quietly removes three things you will want later: knowing who did something, being able to revoke one person, and being able to give someone limited access rather than all of it.
This sets up a server for a handful of people properly. It takes about twenty minutes and it assumes you have already worked through securing a new server.
What this does not cover: central identity for dozens of machines. Past roughly five servers or ten people you want LDAP, an SSO provider, or short-lived SSH certificates. This is the arrangement that is right before that point — and being clear about the boundary matters, because the setup below does not scale gracefully past it.
1. One account per person
No shared logins, ever. Every command in the logs should name a human.
# Debian and Ubuntu
sudo adduser --disabled-password --gecos "Alice Smith" alice

# Red Hat family
sudo useradd -m -c "Alice Smith" alice--disabled-password is deliberate. The account has no usable password, so it can only be reached with a key — which is what you want, and it means you never have to send anyone a password.
Verify: id alice shows the account with its own UID and group.
2. Install their key, not yours
Ask each person for their public key — the .pub file. It is safe to send over chat or email; SSH keys explained covers why.
sudo mkdir -p /home/alice/.ssh
sudo nano /home/alice/.ssh/authorized_keys      # paste their key

sudo chmod 700 /home/alice/.ssh
sudo chmod 600 /home/alice/.ssh/authorized_keys
sudo chown -R alice:alice /home/alice/.sshThose permissions are not optional. SSH refuses keys in a directory others could read and does not explain why in the client output — it simply falls through to asking for a password that does not exist. It is the most common failure here by a wide margin.
Insist on a key comment that identifies the machine, not just the person — alice@work-laptop. When Alice loses a laptop you need to remove one key, not all of hers.
Verify: have them connect. ssh alice@server should work with no password prompt.
3. Give sudo deliberately
Not everyone needs to be able to do everything. Three levels cover most teams.
# Full administrator
sudo usermod -aG sudo alice        # Debian, Ubuntu
sudo usermod -aG wheel alice # Red Hat familyThe -a is not optional. Omitting it replaces every supplementary group the user has rather than adding one.
For someone who only needs to deploy or restart a service, grant exactly that. Never edit /etc/sudoers directly — drop a file into /etc/sudoers.d/ instead, which is safer and easier to remove later:
sudo visudo -f /etc/sudoers.d/deployers# /etc/sudoers.d/deployers
%deploy ALL=(ALL) NOPASSWD: /bin/systemctl restart myapp, \
/bin/systemctl status myapp, \
/usr/bin/journalctl -u myapp *sudo groupadd deploy
sudo usermod -aG deploy aliceAlways use visudo, even for files in sudoers.d. It refuses to save a file with a syntax error, and a broken sudoers file locks every administrator out of sudo simultaneously. That is a genuinely bad afternoon.
Grant to groups rather than individuals. Adding someone to a team then means one usermod, and removing them means one command rather than an audit of every rule.
Verify: as that user, sudo -l lists exactly what they may run.
4. Restrict who may log in at all
By default any account with a valid key can SSH in, including service accounts that should never be logged into interactively. Name the people explicitly.
sudo nano /etc/ssh/sshd_config.d/team.conf# Only these people, only by key
AllowGroups sshusers
PasswordAuthentication no
PubkeyAuthentication yes
PermitRootLogin no
# Tidy up idle sessions
ClientAliveInterval 300
ClientAliveCountMax 2sudo groupadd sshusers
sudo usermod -aG sshusers alice
# Check the config before applying it
sudo sshd -t
sudo systemctl reload sshTwo safety rules here. Run sshd -t before reloading — it catches syntax errors that would otherwise stop sshd from starting. And keep your existing session open while you test a new one from another terminal. If you lock yourself out with the first session closed, you are into your provider’s console.
Newer distributions read /etc/ssh/sshd_config.d/*.conf; on older ones, edit sshd_config directly. The service is ssh on Debian family and sshd on Red Hat.
5. Know who did what
Individual accounts only help if you can read the trail. Everything you need is already being recorded.
# Who is connected now, and who was recently
who
last -n 20

# Successful logins
sudo journalctl _COMM=sshd | grep "Accepted"

# Every sudo command, with the user who ran it
sudo journalctl _COMM=sudo --since "7 days ago"
sudo grep sudo /var/log/auth.log # Debian familyThat sudo log is the payoff for all of the above. “Who restarted the database at 4am” has an answer, and it is a name rather than “the deploy account”. Reading Linux logs covers filtering it properly.
A worthwhile addition on a shared box — send sudo’s log somewhere the person running the command cannot edit. Even a second machine receiving syslog is enough to make the trail meaningful.
6. Offboarding, done properly
This is the step that gets skipped, and it is the one that matters most. Deleting the account is not the same as removing access.
# 1. Lock immediately - reversible, and instant
sudo usermod -L alice
sudo usermod -s /usr/sbin/nologin alice

# 2. Kill any live session
pkill -u alice

# 3. Remove the key
sudo mv /home/alice/.ssh/authorized_keys /home/alice/.ssh/authorized_keys.removed

# 4. Remove group memberships
sudo gpasswd -d alice sudo
sudo gpasswd -d alice sshusers

# 5. NOW look for what else they left behind
sudo crontab -u alice -l
sudo find / -user alice -not -path '/proc/*' 2>/dev/null
sudo grep -rn "alice" /etc/sudoers /etc/sudoers.d/

# 6. Only after all that
sudo userdel alice # or -r to remove the home directory tooSteps 1 and 2 take five seconds and stop access immediately. Everything after that can happen calmly.
Step 5 is the one people miss. A departing colleague may have left a cron job, a key in a service account’s authorized_keys, or a deploy key on a CI system. None of those disappear when you delete their user. Search for them deliberately.
And do not rush userdel. Deleting the account leaves their files owned by a bare number, and if a future user gets that recycled UID they silently inherit those files — users, groups and root explains why.
Keeping it manageable
Two additions that pay off once there is more than one server.
Put the whole arrangement in Ansible. Users, keys, groups and sudoers files are exactly what configuration management is for, and it means adding a person is a one-line change applied everywhere rather than the same twenty minutes per machine. Ansible covers it, and this is the second-best reason to adopt it.
Consider taking SSH off the internet entirely. With Tailscale or a VPN, the server is reachable only from your private network and the port is closed to everyone else — which removes an entire category of exposure and makes the account rules above the only thing standing between people and the machine.
Things that catch people out
| Symptom | Cause |
|---|---|
| Key ignored, asks for a password | .ssh permissions — must be 700 and 600 |
User cannot log in after AllowGroups | Not in that group, or has not reconnected |
| Someone lost sudo unexpectedly | usermod -G without -a |
| Everyone lost sudo | Syntax error in sudoers — always use visudo |
| Group change has no effect | Group membership is read at login |
| Ex-employee’s cron job still running | Not checked before userdel |
| Files owned by a number | Account deleted; UID may be recycled |
Quick reference
| You want | Command |
|---|---|
| Add a person | sudo adduser --disabled-password NAME |
| Give them admin | sudo usermod -aG sudo NAME |
| Grant narrow sudo | sudo visudo -f /etc/sudoers.d/NAME |
| What may they run? | sudo -l -U NAME |
| Who may SSH in | getent group sshusers |
| Test sshd config | sudo sshd -t |
| Revoke access now | sudo usermod -L NAME && pkill -u NAME |
| What do they own? | sudo find / -user NAME |
| Who ran what | sudo journalctl _COMM=sudo |
Related reading
- Securing a new server — do this first
- SSH keys explained — what you are asking colleagues to send you
- Users, groups and root — UIDs, and why deletion is not tidy
- sudo — the syntax behind those rules
- Ansible — managing all of this across several servers
- Tailscale — taking SSH off the public internet