

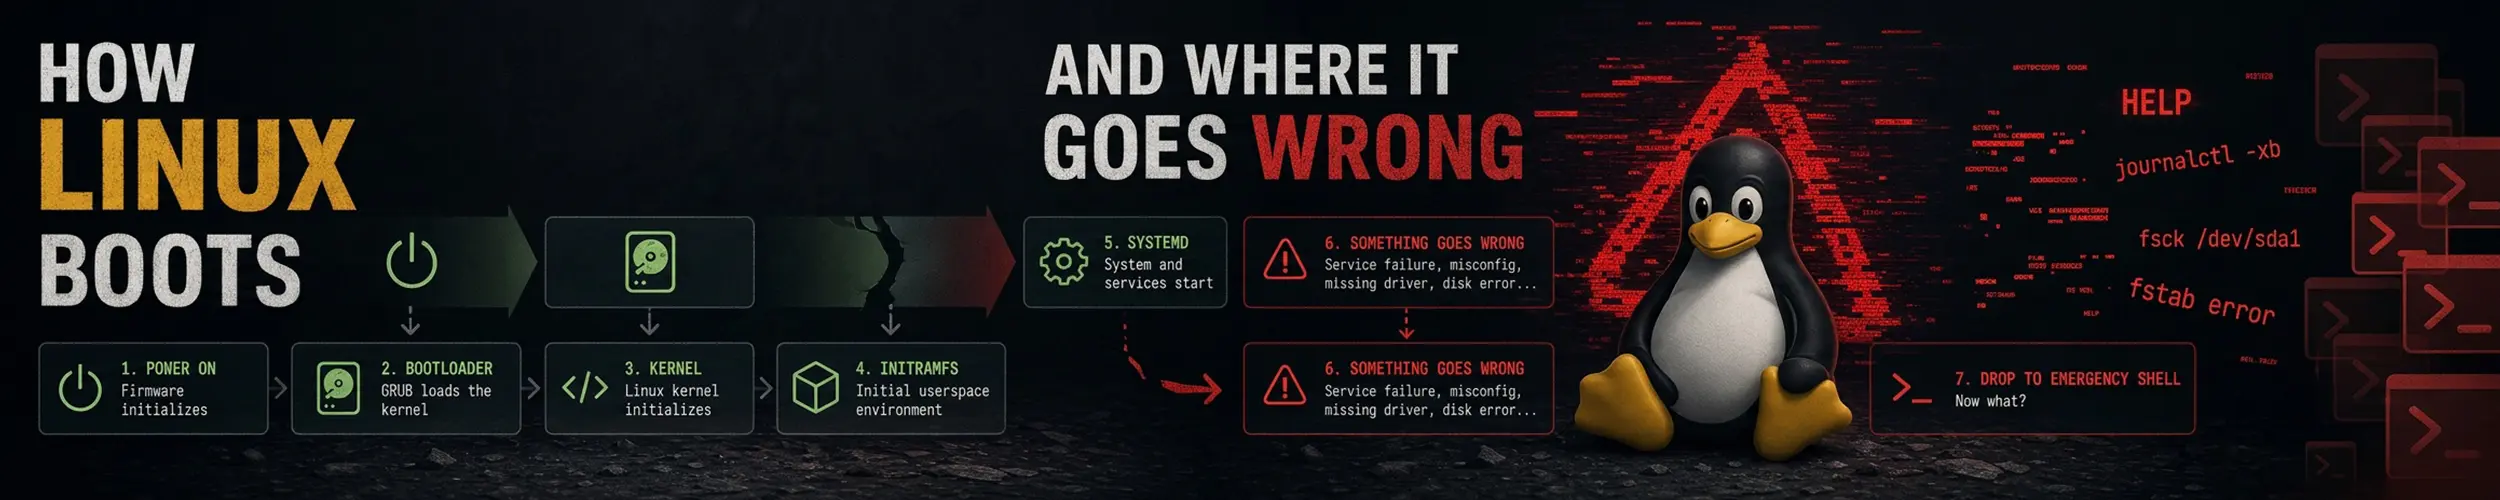
Between pressing the power button and getting a login prompt, six things happen in a fixed order, each handing control to the next. Knowing that order is what turns “the server will not boot” from a panic into a diagnosis, because where the screen stops tells you which stage failed, and each stage has its own recovery.
The sequence
| # | Stage | Does | You see |
|---|---|---|---|
| 1 | Firmware (UEFI or BIOS) | Tests hardware, finds something bootable | Vendor logo |
| 2 | Bootloader (GRUB) | Offers a kernel, loads it | The boot menu |
| 3 | Kernel | Takes over the hardware | Scrolling messages, or a blank screen |
| 4 | initramfs | Loads the drivers needed to reach the real disk | Usually nothing |
| 5 | Root pivot | Mounts the real root filesystem | Usually nothing |
| 6 | systemd | Starts every service, reaches a target | Service lines, then a login prompt |
Work out the last stage you saw evidence of. That is where to look.
This page is the outline, and it is enough for most problems. If you want the whole thing properly — the same sequence split into eight handoffs, with EFI boot entries, shim, the Boot Loader Specification, Unified Kernel Images, what built your initramfs and how to break into it — From Power-On to a Login Prompt goes a full level deeper and ends with a worked diagnosis.
1. Firmware
The firmware on the motherboard initialises hardware and looks for something to boot. Two generations exist and the difference matters when things go wrong.
| Legacy BIOS | UEFI | |
|---|---|---|
| Finds the bootloader by | Reading the first sector of the disk | Reading a file from the EFI partition |
| Partition table | MBR | GPT |
| Needs | Nothing special | A FAT32 EFI System Partition at /boot/efi |
| Boot entries | None — just disk order | Stored in firmware, editable with efibootmgr |
# Which am I running? If this directory exists, UEFI.
ls /sys/firmware/efi

# UEFI boot entries and their order
sudo efibootmgr -vAlmost everything since about 2012 is UEFI. The practical consequence: a UEFI system that suddenly boots to a firmware screen has usually lost its boot entry — a firmware update, a cleared CMOS, or another operating system’s installer overwriting the order. efibootmgr from a live USB restores it without reinstalling anything.
Secure Boot lives here too. It refuses to load unsigned code, which is why a self-compiled or third-party kernel module — the NVIDIA driver, VirtualBox — can fail on an otherwise healthy machine.
2. The bootloader
GRUB reads its configuration, shows a menu, and loads the kernel and initramfs into memory. It is also the last point at which you can change anything before the kernel runs, which makes it the most useful recovery tool on the system.
Hold Shift, or tap Esc, during boot to get the menu if it is hidden. From there, pressing e edits the selected entry for this boot only — nothing is saved, so a reboot undoes anything you try.
Two edits are worth knowing. Adding single or 1 to the end of the linux line boots to a minimal single-user mode. Adding init=/bin/bash skips systemd entirely and drops you at a root shell — the strongest recovery available, and worth knowing that anyone with physical access can do it, which is what disk encryption is for.
# Never edit grub.cfg directly - it is generated.
# Edit the source, then regenerate:
sudo nano /etc/default/grub

# Debian and Ubuntu
sudo update-grub

# Fedora, RHEL, Arch
sudo grub2-mkconfig -o /boot/grub2/grub.cfg
sudo grub-mkconfig -o /boot/grub/grub.cfgUseful settings in /etc/default/grub: GRUB_TIMEOUT=5 so the menu is actually reachable, and removing quiet splash from GRUB_CMDLINE_LINUX_DEFAULT so you can see boot messages instead of a logo. On a server that has ever failed to boot, both are worth setting permanently.
3. The kernel
The kernel decompresses itself, takes control of the CPU and memory, detects hardware, and loads built-in drivers. Everything it prints during this is kept, and readable afterwards:
# Kernel messages from this boot, with readable timestamps
sudo dmesg -T

# The same through the journal
sudo journalctl -k

# From the PREVIOUS boot - the one that failed
sudo journalctl -k -b -1

# Errors only
sudo dmesg --level=err,critjournalctl -k -b -1 is the command for “it crashed and rebooted and I do not know why”. It shows the kernel’s last words. This only works if the journal is stored on disk — if /var/log/journal/ does not exist, logs live in memory and are gone. Reading Linux logs covers making it persistent, and it is worth doing before you need it.
A kernel panic — a stack trace and a frozen machine — usually means failing hardware, a bad driver, or a corrupted initramfs. If it started after an update, boot the previous kernel from GRUB’s “Advanced options” submenu. Distributions keep old kernels precisely for this, and it turns a broken machine into a working one in thirty seconds.
4. initramfs, and why it exists
Here is the chicken-and-egg problem it solves. The kernel needs to mount your root filesystem to find its drivers — but it may need a driver to reach that disk in the first place. An encrypted disk needs a passphrase; an LVM volume needs LVM tools; an NVMe or RAID controller needs its module.
So the bootloader loads a second file alongside the kernel: a small compressed filesystem, held entirely in memory, containing just enough tools to reach the real disk. It unlocks the encryption, assembles the RAID, loads the module, mounts the real root, and then hands over and disappears.
# Rebuild it - the fix for many "cannot find root device" failures
sudo update-initramfs -u -k all      # Debian, Ubuntu
sudo dracut --force --regenerate-all # Fedora, RHEL
sudo mkinitcpio -P                   # Arch

# See what is inside
lsinitramfs /boot/initrd.img-$(uname -r) | lessIf you are dropped to a prompt saying the root device does not exist, this stage is where you are stuck — the kernel loaded but nothing could reach your disk. The usual causes are a changed disk UUID after cloning, an encrypted disk whose keyfile is missing, or an initramfs built without the right driver.
5. Mounting the real root
The root filesystem mounts, and then /etc/fstab is consulted for everything else. This is the single most common way to make a working machine unbootable, and it is worth being explicit about why.
By default, a filesystem listed in fstab that cannot be mounted stops the boot. Add an entry for a disk, get the UUID slightly wrong, reboot, and the machine drops into emergency mode. Nothing is broken except one line in a text file.
# Test fstab BEFORE rebooting. This is the habit that prevents it.
sudo mount -a

# Real UUIDs
lsblk -f
sudo blkidUse nofail on anything not essential — external drives, network shares, backup disks. The system then continues booting when that filesystem is absent instead of refusing to start:
UUID=1234-5678 /mnt/backup ext4 defaults,nofail,x-systemd.device-timeout=5s 0 2If you are already stuck at an emergency prompt, the root filesystem is mounted read-only. Remount it writable, fix the file, reboot:
mount -o remount,rw /
nano /etc/fstab
rebootDisks and mounting covers fstab syntax in full.
6. systemd
The kernel starts one process, PID 1, and on almost every current distribution that is systemd. From here everything else is started in dependency order — in parallel where possible, which is why modern systems boot so much faster than the sequential scripts they replaced.
systemd works towards a target, a named collection of things that should be running.
| Target | Means |
|---|---|
graphical.target | Full system with a desktop |
multi-user.target | Full system, text only — the server default |
rescue.target | Single user, root shell, minimal services |
emergency.target | Almost nothing: root shell, read-only root |
# What is the machine aiming for?
systemctl get-default
sudo systemctl set-default multi-user.target

# What failed?
systemctl --failed

# Why is boot slow?
systemd-analyze
systemd-analyze blame
systemd-analyze critical-chainsystemd-analyze blame lists every unit by how long it took. The usual culprits on a slow server are a network-wait service sitting at its full timeout, or a mount that cannot be reached. critical-chain is the more honest of the two, since it shows what actually delayed the boot rather than what merely took a while in parallel.
You can also boot straight to a rescue target by adding systemd.unit=rescue.target to the kernel line in GRUB — useful when a service is failing so hard it prevents login. See systemctl for managing units once you are in.
Diagnosing by symptom
| Where it stops | Stage | First thing to try |
|---|---|---|
| Vendor logo, or “no bootable device” | Firmware | Check boot order; efibootmgr from a live USB |
| No GRUB menu, black screen | Bootloader | Reinstall GRUB from a live USB |
| GRUB appears, kernel panics | Kernel | Boot the previous kernel from Advanced options |
| “Cannot find root device”, initramfs prompt | initramfs | Rebuild initramfs; check the root UUID |
| Emergency mode, asks for root password | fstab | mount -o remount,rw /, fix fstab |
| Boots but hangs 90 seconds | systemd | systemd-analyze blame — usually a timeout |
| Reaches text login, no desktop | systemd | systemctl get-default; check the display manager |
Rescuing from a live USB
When the machine will not boot far enough to fix itself, boot any live image and chroot into the installed system. That gives you a working shell inside the broken installation, where package tools and GRUB commands behave normally.
# Identify the partitions
lsblk -f

# Mount the root filesystem
sudo mount /dev/sda2 /mnt

# UEFI systems: mount the EFI partition too
sudo mount /dev/sda1 /mnt/boot/efi

# Give the chroot access to the running kernel's interfaces
for d in /dev /dev/pts /proc /sys /run; do sudo mount --bind $d /mnt$d; done

# Enter it
sudo chroot /mnt

# Now fix things - these work normally in here
update-grub
grub-install /dev/sda
update-initramfs -u -k all
nano /etc/fstab

# Leave and reboot
exit
sudo rebootThe bind mounts are the step people skip, and without them grub-install and update-initramfs fail in confusing ways — they need /proc and /sys to see the real hardware. On a UEFI machine, forgetting to mount the EFI partition means GRUB installs somewhere that never gets read.
On a cloud server there is no live USB, but the equivalent exists: most providers offer a rescue mode that boots a recovery image with your disk attached, and the chroot procedure from there is identical.
Quick reference
| You want | Command |
|---|---|
| UEFI or BIOS? | ls /sys/firmware/efi |
| Kernel messages from the failed boot | journalctl -k -b -1 |
| Which services failed | systemctl --failed |
| Why boot is slow | systemd-analyze blame |
| Test fstab before rebooting | sudo mount -a |
| Regenerate the GRUB menu | sudo update-grub |
| Rebuild initramfs | sudo update-initramfs -u -k all |
| Writable root at an emergency prompt | mount -o remount,rw / |
| Boot to a root shell | Add init=/bin/bash in GRUB |
Related reading
- systemctl — managing the services stage 6 starts
- Reading Linux logs —
journalctl -b -1and making the journal persistent - Disks and mounting — fstab, UUIDs and
nofail - The Linux filesystem — what lives in
/boot - Checking disk space — a full
/bootis a common cause of a broken update - Terminal editors — editing fstab from a rescue prompt